
Trim and Finish Carpentry in Raleigh and the Triangle
Crown molding, wainscoting, coffered ceilings, built-ins and stair details, scribed to the walls you actually have rather than the ones on a plan.
Trim is the last thing installed and the first thing anyone notices when it is wrong. A quarter inch gap at an inside corner or a baseboard that steps away from the wall halfway down a hallway reads as sloppy work even when the plumbing and drywall behind it are perfect. Most houses in the Triangle, especially anything built before the 2000s, do not have a single straight wall in them, and finish carpentry is the trade that has to work with that fact rather than fight it.
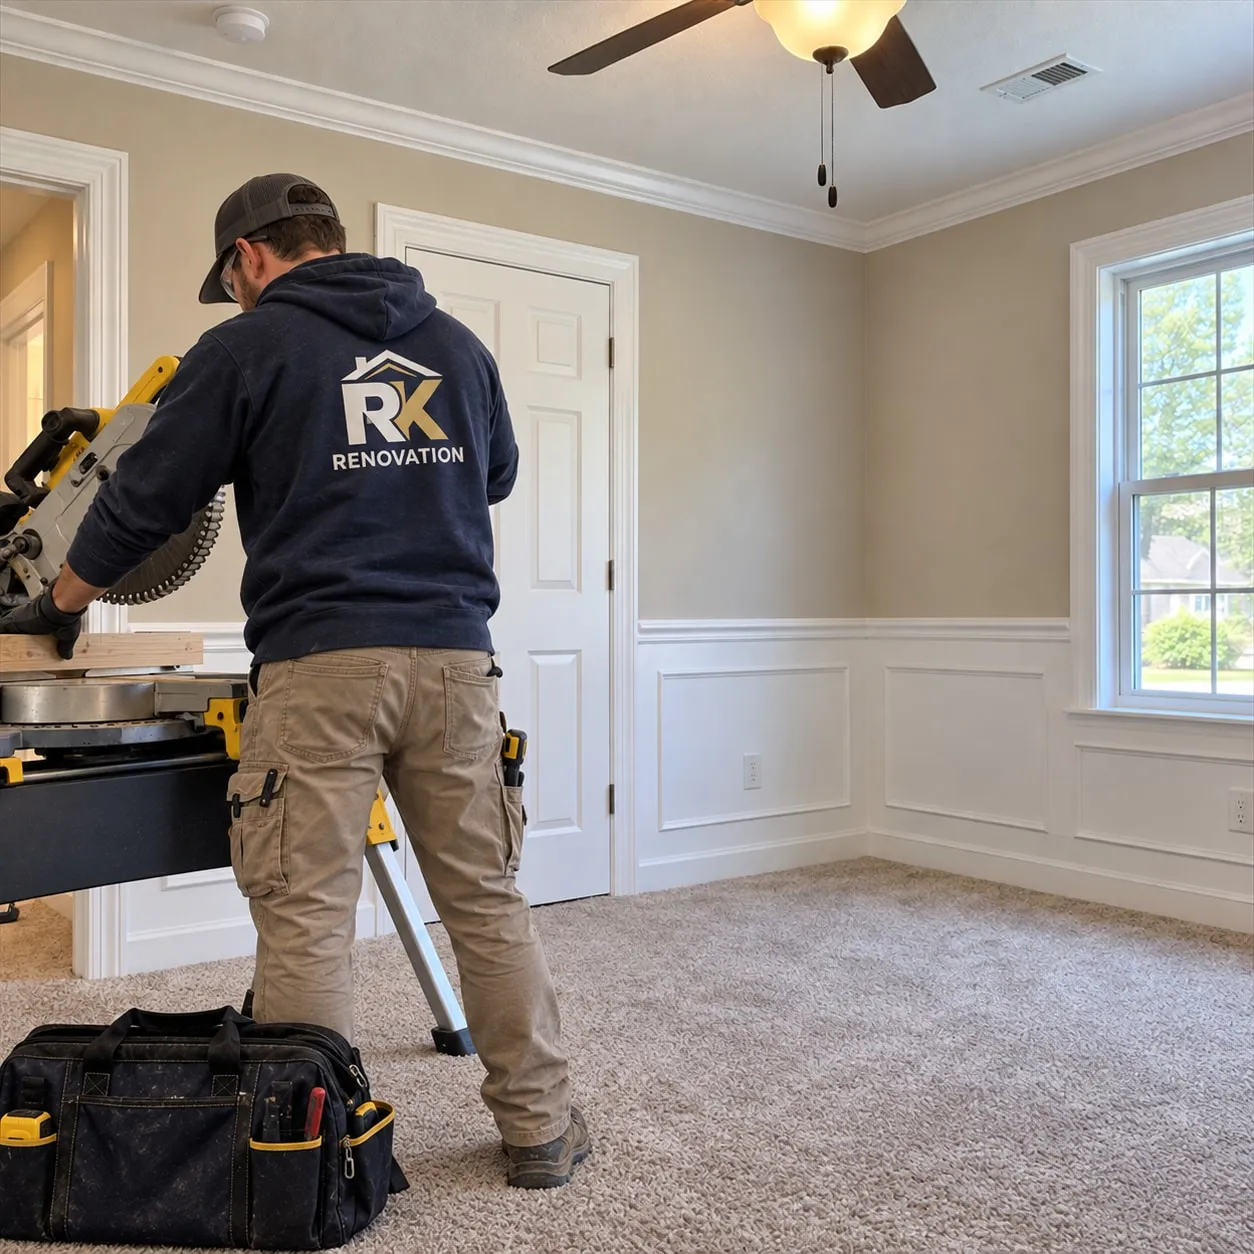
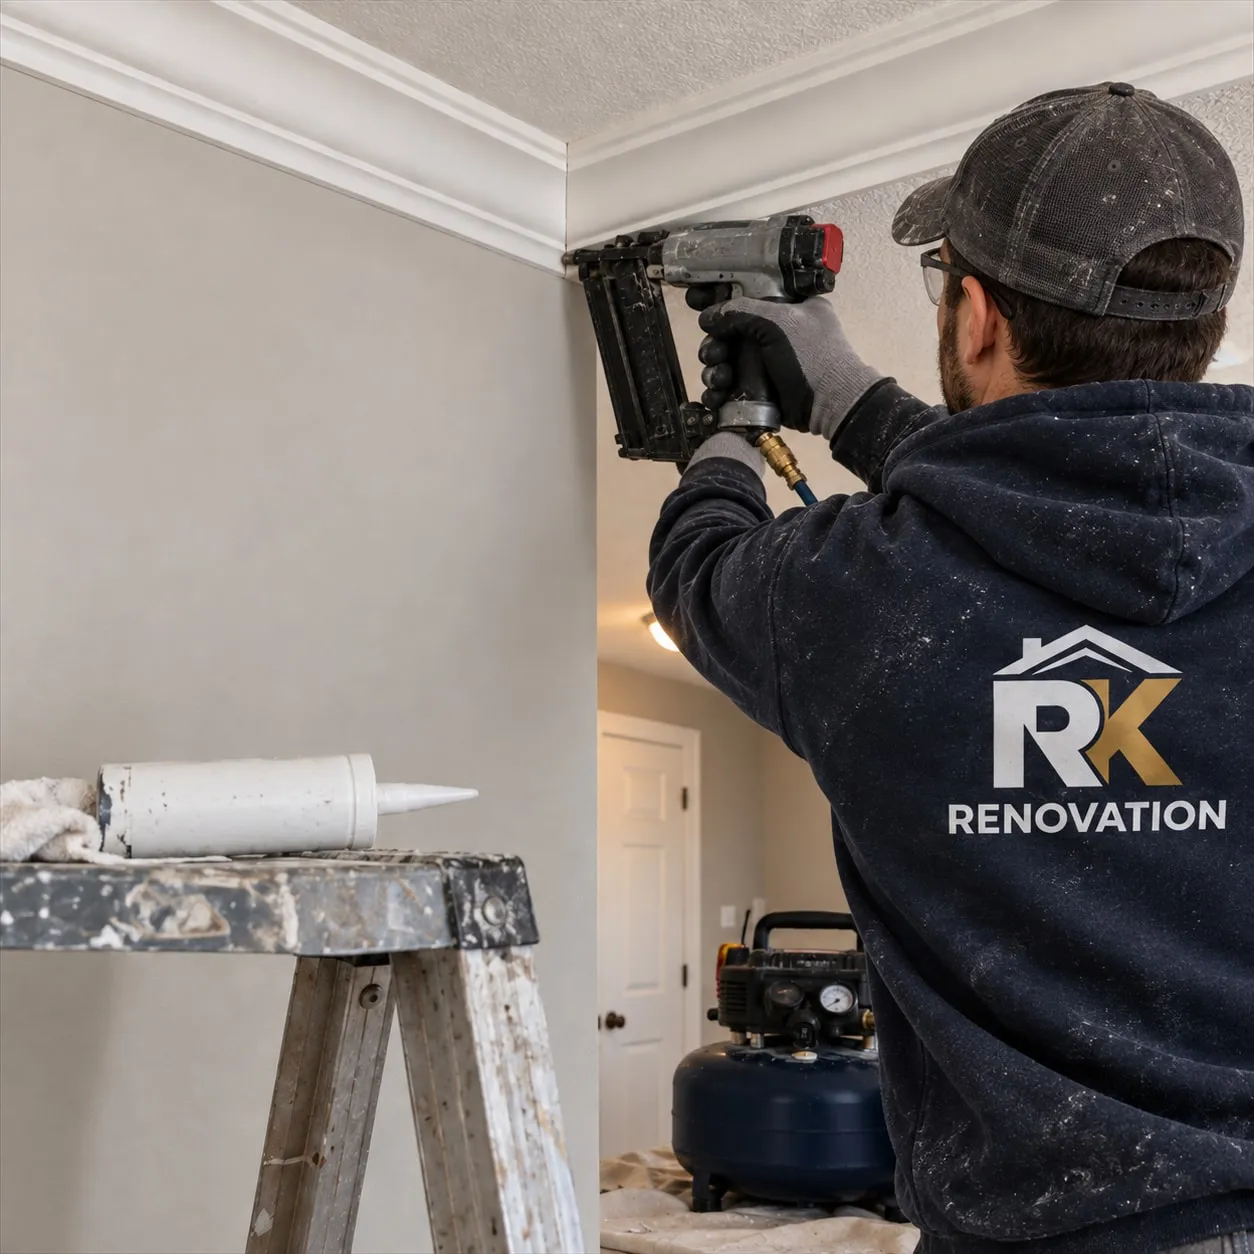
RK Renovation copes inside corners on baseboard and crown rather than mitering them, because a coped joint stays tight as the wood moves through a Carolina summer and winter while a mitered corner tends to open into a visible gap within a year. We scribe casing and base to the actual wall rather than assuming square, and we leave the right gaps at butt joints and floor lines so solid wood trim has somewhere to move without splitting or buckling.
Crown molding in one room, a full coffered ceiling, a stair rebuild, or built ins fitted to a wall that has never been perfectly flat, you get one crew, material chosen for the finish you want, and blocking put in place before drywall goes back up for anything that will eventually hang on that wall.
You probably need this if
- Baseboard has a visible gap at every inside corner
- Crown molding pulls away from the ceiling in one corner of the room
- Casing around a door does not sit flat against the jamb
- A shelf or television mount already feels loose after a year
- The trim profile in an addition does not match the rest of the house
Free Estimate
Tell us about the project and we will get you a written number for trim and finish carpentry.
What the Written
Price Covers
No line item appears halfway through the job that was not on the quote you signed.
Material selection
Paint grade poplar, finger jointed pine or MDF for painted trim, and stain grade poplar, oak or a hardwood matched to your floors when the grain is meant to show, chosen before a single board is cut.
Blocking and rough carpentry
Horizontal blocking added behind the drywall for anything that will eventually hang there: a built in, a mounted television, floating shelves or a heavy mirror, decided before the wall closes rather than after.
Base, casing and crown installation
Inside corners coped rather than mitered, casing and base scribed to the actual wall, and outside corners mitered tight with a nailing schedule that keeps them that way.
Built ins and cabinetry
Face frames and side panels scribed on site to a wall and floor that are rarely level or plumb, so the finished piece reads as part of the room instead of a box set down inside it.
Stair parts
Skirt boards, treads, risers and handrail fit to the actual stair opening, with consistent rise and run carried through from the top of the flight to the bottom.
Caulk, fill, prep and punch walk
Nail holes filled, joints caulked, surfaces sanded and ready for paint or the final coat of stain, then a walk through where you check every corner before we call it finished.
Choices worth making early
Paint grade versus stain grade
Paint grade material is stable, inexpensive and disappears under a couple coats of paint, which is right for most baseboard and casing. Stain grade material shows every joint and grain line, so it costs more and demands tighter joinery.
Profile and scale
A tall room can carry a taller baseboard and a heavier crown profile than a room with an eight foot ceiling. Matching profile to scale is often the difference between trim that looks intentional and trim that looks stock.
Built ins fitted to an existing wall
Bookcases, a window seat or a media wall built to the exact dimensions of your room rather than a stock size, with panels scribed to the actual wall and floor rather than caulked to hide the gap.
Ceiling detail: coffered and beamed work
Coffered grids and exposed beam treatments add real structure to a flat ceiling, but they need to be planned around existing lighting, HVAC vents and ceiling height, since a low ceiling can make a heavy grid feel closer than it should.
How the work runs
Four stages, each one finished before the next starts. Typical duration is 2 days to 3 weeks.
Walk the room and check the walls
We check the walls and ceiling for out of plumb and out of level before cutting anything, since that is what decides how much scribing the job actually needs.
Material and profile selection
Paint grade or stain grade, and a profile sized to the ceiling height and the scale of the room, chosen and on site before installation starts.
Rough in and blocking
On a renovation, blocking goes in behind the drywall for anything the trim carpenter or you will later hang, before the wall closes up for good.
Install, cope, caulk, finish
Trim installed with coped inside corners and scribed edges, nail holes filled and joints caulked, then handed off for paint or a final coat of stain.
Why homeowners pick RK for this
Three bids for trim and finish carpentry will look similar on paper. What separates them is what happens on the days nobody photographs.
Get Your NumberWe cope inside corners instead of mitering them
A coped joint stays tight as two walls move independently through a Carolina summer and winter. A mitered inside corner is faster to cut and tends to open into a visible gap within a year or two.
We scribe to the wall you actually have
Almost no wall in an older Triangle house is perfectly straight, so casing, base and built ins get fit to the real surface instead of a factory edge that assumes a wall that does not exist.
Blocking goes in before the wall closes
If a shelf, a mounted television or a built in is part of the plan, we frame the blocking for it during rough carpentry so the fasteners land in real wood later instead of a hollow drywall anchor.
How we actually do it
Almost no wall in a Raleigh house built before the 2000s is actually straight, and finish carpentry lives or dies on how the trim handles that fact. At inside corners we cope one piece of baseboard or crown to fit over the profile of the other rather than cutting two forty five degree miters, because a coped joint stays tight even as the two walls move independently through a Wake County summer and winter. Where casing meets a wall that bows or leans, we scribe the edge to follow the actual surface instead of trusting a factory straight edge. The extra time at the saw is what keeps a hallway of trim reading as one continuous line instead of a series of small visible steps.
Wood trim in a Raleigh home moves with the seasons, expanding somewhat in the humidity of a Carolina summer and contracting in a dry heated winter, and a good installation plans for that instead of fighting it. Paint grade material, usually finger jointed pine or MDF, is stable, inexpensive and disappears completely under two coats of paint, which makes it the right call for most baseboard, casing and crown. Stain grade material, solid poplar, oak or a hardwood matched to existing floors, shows every joint and grain line, so it costs more in both material and labor and demands tighter joinery. We leave a hairline gap at long butt joints in Wake County projects either way, because solid wood caulked bone tight in January can buckle by August.
A built in that is fitted to an existing wall in a Raleigh house has to account for a floor that is not level and a wall that is not plumb, which is why we scribe the side panels and face frame on site rather than building a sealed box in the shop and hoping it fits. Before any drywall closes up a wall in Wake County that will carry a built in, a mounted television, floating shelves or a heavy mirror, we add horizontal blocking between the studs at the height that piece needs, so the fasteners land in solid wood instead of a hollow cavity. That single step, decided weeks before the trim carpenter arrives, is what keeps a built in from pulling away from the wall.
Straight answer on price
Most trim and finish carpentry projects we quote land between $1,200 and $22,000. We measure on site, then put a fixed number in writing.
Call (919) 335-7730Answered before you ask
How much does trim and finish carpentry cost?
Most finish carpentry projects we take on land between 1,200 and 22,000 dollars. A single room of new baseboard and casing sits at the low end. A full coffered ceiling, a stair rebuild and a run of built ins sits at the top.
How long does a trim project take?
A single room of trim usually takes two to three days on site. A full house trim package, a coffered ceiling or a built in wall unit runs one to three weeks, depending on how much is built off site versus scribed in place.
What is the difference between paint grade and stain grade trim?
Paint grade material like finger jointed pine or MDF is stable and inexpensive because it disappears under paint. Stain grade material like solid poplar or oak shows the wood grain and every joint, so it costs more and takes longer to install well.
Do you build and install stairs?
Yes, including skirt boards, treads, risers and handrail, fit to the actual opening in your home rather than a stock kit. Rise and run get checked at every step so the flight feels consistent from top to bottom.
Can you match trim in an older house that has an unusual profile?
Often. We take a template off the original baseboard or casing and either source a matching knife profile from a millwork shop or replicate it, so an addition or a repaired section does not stand out next to the original work.
What homeowners say
Pulled straight from our Google Business Profile, and updated as new reviews come in.
Trim and Finish Carpentry near you
Pick your town for local detail: what the housing stock is made of, which office issues the permit, and what we run into most often there.
All service areasOther work we take on
Most projects touch more than one trade. Keeping them under one crew is what keeps the schedule honest.
Bathroom Remodeling
Walk-in showers, custom tile, vanities and full layout changes, waterproofed to last decades.
ExploreKitchen Remodeling
Cabinetry, stone countertops, backsplash and lighting designed around how you actually cook.
ExploreTile Installation
Porcelain, marble, mosaic and large format. Dead-level substrates and razor-straight grout lines.
ExploreFlooring Installation
LVP, engineered hardwood, laminate and tile, over subfloors flattened so seams disappear underfoot.
ExploreInterior and Exterior Painting
Real prep work, premium coatings, crisp cut lines. Walls, trim, cabinets and full exteriors.
ExploreDrywall Installation and Repair
Invisible patches, ceiling repairs, full hangs and Level 5 finishes ready for the roller.
ExploreReady to add custom trim work?
Free estimates, honest pricing, and a crew that shows up when it says it will.