
Drywall Installation and Repair in Raleigh and the Triangle
Patches that disappear under paint, ceiling repairs, full room hangs and Level 5 finishes for walls that catch raking light.
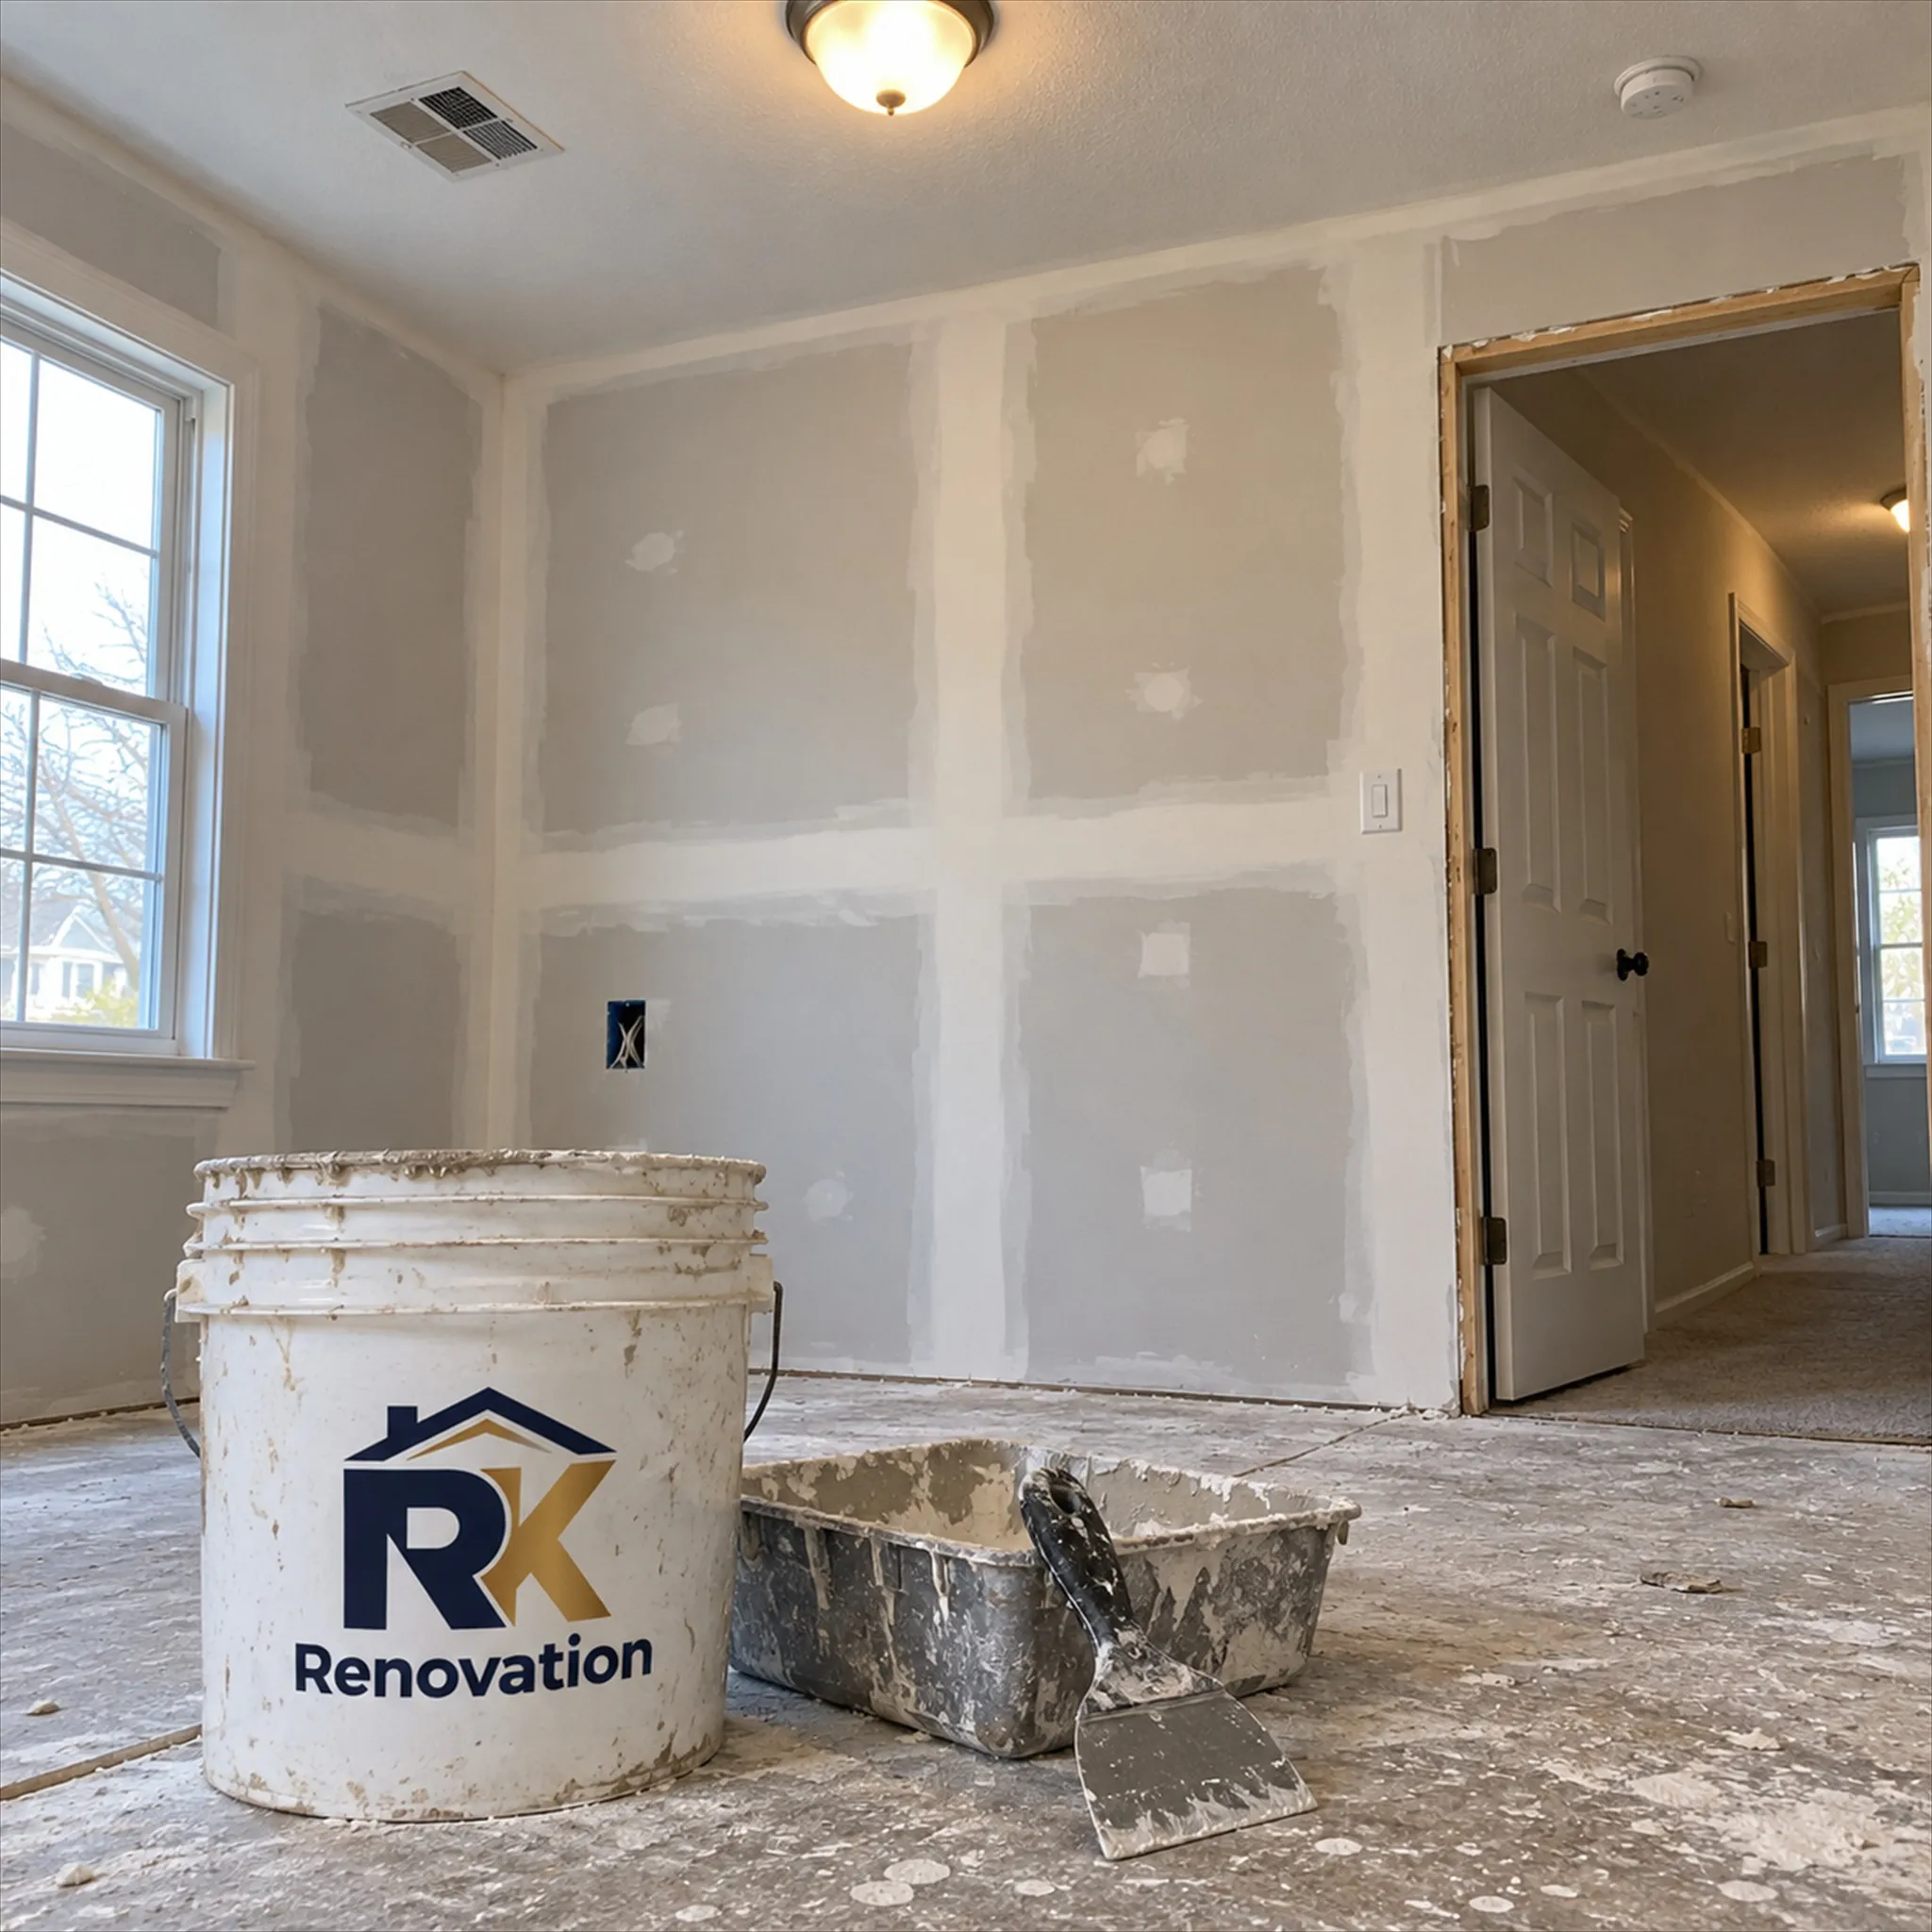
Drywall repair looks simple from across the room and is not. A patch that is mudded, sanded and painted without matching the surrounding texture and sheen will announce itself the first time low sun crosses the wall at the wrong angle. The finish level that a hallway needs is not the finish level a media room wall lit by can lights needs, and treating every patch the same way is how a two hundred dollar repair becomes visible for the next decade.
RK Renovation matches the finish level to the wall, matches the existing texture rather than skipping it, and controls dust in an occupied house instead of leaving a film over everything you own. Ceiling repairs after a roof or plumbing leak get dried out and inspected before we close anything back up, because covering a wet joist bay solves nothing.
A single screw pop or a full room hang after a leak or a wall removal, you get a written scope, a texture and sheen match, and a crew that protects the rest of the house while it works.
You probably need this if
- Nail or screw heads keep showing through the paint in the same spots
- A crack keeps reopening in the same corner every year
- There is a stain or a soft spot on a ceiling below a bathroom
- A patch someone else made is visible whenever the sun is low
- A wall or ceiling has a slight bulge or feels spongy to the touch
Free Estimate
Tell us about the project and we will get you a written number for drywall installation and repair.
What the Written
Price Covers
No line item appears halfway through the job that was not on the quote you signed.
Water damaged section removal
Wet or stained drywall cut back to sound, dry material with a margin past the visible damage, because mold and soft paper spread further than the stain shows.
Framing and structural check
Joists, studs and truss chords behind the damage get checked for rot or movement before anything new goes up, so the patch is not screwed to something already failing.
Hanging and taping
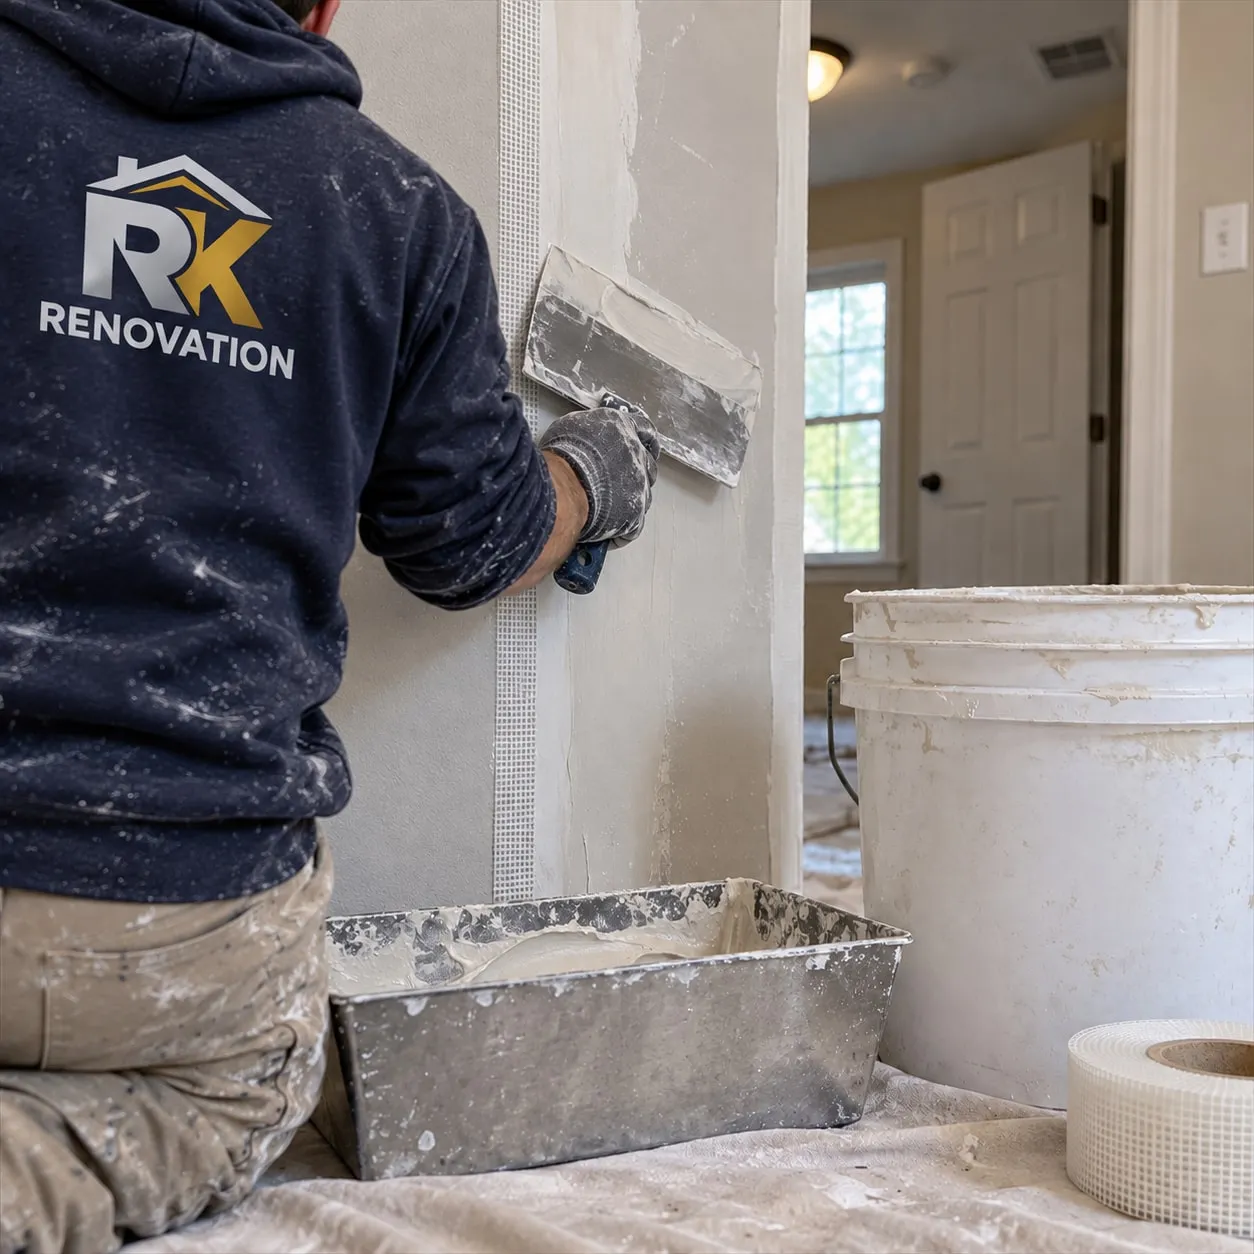
New board hung with the right screw pattern and spacing, joints taped in paper or mesh, and coated in the number of mud coats the finish level actually calls for.
Texture matching
Orange peel, knockdown or smooth walls get matched to the existing texture with the same tools and technique, so the patch reads as part of the wall rather than a rectangle on top of it.
Dust containment
Plastic sheeting at doorways, a sealed work zone and a HEPA vacuum for sanding, so the rest of an occupied house is not living in a fine white film for a week.
Priming and paint ready finish
Every patch gets a coat of primer sealer before final paint, since bare mud and old paint absorb sheen differently and will flash through a topcoat that skips this step.
Choices worth making early
Finish level by wall
A garage or storage wall needs Level 2. A hallway needs Level 4. A media wall lit by can lights or a wall next to a large window needs Level 5, a skim coat over the whole surface that kills flashing under raking light.
Texture match versus smooth conversion
We can match orange peel or knockdown to blend a patch, or skim coat an entire room to remove dated texture entirely. Full conversion costs more but reads as an intentional, modern wall rather than a patched one.
Ceiling repair after a leak
A stained ceiling patch is never just cosmetic. We identify and confirm the leak source, let the cavity dry to a safe moisture reading, then cut back to sound board before closing it.
Screw pop and crack repair
Seasonal truss movement pops fasteners and cracks corner joints every year in a lot of Triangle houses. We reset with the correct fastener spacing and a flexible joint compound at movement points, not just a dab of spackle.
How the work runs
Four stages, each one finished before the next starts. Typical duration is 1 day to 1 week.
Assess and scope
We check whether the damage is cosmetic, moisture related or a sign of structural movement, and whether the wall needs a patch, a full sheet, or a full room hang.
Cut back and hang
Damaged material comes out to a clean edge, new board goes up screwed into framing on the standard pattern, and any wet framing behind it gets addressed first.
Tape, mud and match texture
Joints get taped and coated to the finish level the wall needs, then the surrounding texture gets matched before anything is sanded smooth.
Sand, prime and inspect
Final sanding under a raking light catches what daylight would otherwise catch after you move back in, then primer goes on and we walk the repair with you.
Why homeowners pick RK for this
Three bids for drywall installation and repair will look similar on paper. What separates them is what happens on the days nobody photographs.
Get Your NumberTexture gets matched, not skipped
A smooth patch on a knockdown wall is the most common giveaway in a drywall repair. We match the existing texture with the same tools a full hang would use, even for a patch the size of a dinner plate.
We check what caused the damage
A stain or crack is a symptom. We look for the leak, the truss movement or the moisture source before closing the wall back up, so you are not paying to patch the same spot twice.
Dust stays contained
Plastic barriers, sealed doorways and HEPA sanding equipment keep a repair from turning your whole house into a construction site for a week over one bad ceiling.
How we actually do it
Drywall finish has six defined levels, and most homeowners have never heard the term even though they live with the results every day. Level 0 is unfinished board for a wall that will be covered later. Level 4 is standard for most rooms in a Raleigh house: taped joints with three coats of mud and a light sand, fine under normal paint and light. Level 5 adds a full skim coat of mud over the entire surface, not just the joints, which kills the flashing you get when a flatter sheen paint sits over an untreated seam. It matters most on a wall lit edge on by a window, or anywhere in Wake County using low sheen paints that show every imperfection in the board underneath.
Every drywall repair fails the same way when it is rushed: the patch gets mudded and sanded smooth, then painted, on a wall that was never smooth to begin with. Orange peel, knockdown and hand troweled finishes all reflect light differently than a bare skim coat, so a smooth patch reads as a shadow the moment the sun crosses the room. We match texture with the same hopper gun or knockdown knife technique the original installer likely used, tested on scrap first. Screw pops are a related, separate problem, common in Raleigh framing as seasonal humidity swings move the trusses a fraction of an inch. Resetting the fastener and bridging the crack with a flexible compound stops it from reopening next dry season.
A stained or sagging ceiling almost always means water got into the cavity from a roof flashing failure or, far more often here, a supply line and drain leak from the floor above. In Raleigh, a bathroom or kitchen leak is a much more common cause than a roof, so we check the plumbing path first. Wet insulation and soaked drywall paper hold moisture long after the surface looks dry, so we confirm a safe moisture reading before closing the cavity back up, not just a visual check. Because the house in Wake County is usually occupied during the repair, we seal the work zone with plastic, run a HEPA vacuum during sanding, and protect the floor and furniture the same way we would for a full room renovation.
Straight answer on price
Most drywall installation and repair projects we quote land between $450 and $9,500. We measure on site, then put a fixed number in writing.
Call (919) 335-7730Answered before you ask
How long does a drywall repair take?
A single patch or a few screw pops can often be done in a day, including texture match and one coat of paint. A full room hang after a leak or a wall removal usually runs three days to a week, most of that time spent letting mud coats dry between passes.
What does drywall repair cost in the Triangle?
Most jobs we price land between 450 and 9,500 dollars. A single patch or a handful of screw pops sits at the low end. A full room hang with a Level 5 finish after water damage sits at the top. You get a fixed number once we see the actual damage, not a per patch guess.
Will the patch be visible after it is painted?
Not if the texture and sheen are matched correctly. A patch that is only sanded smooth on a textured wall will show under any angled light. We match the surrounding texture as a standard part of the repair, not an upgrade.
Can you match my ceiling texture?
In most cases, yes. Popcorn ceilings, hand troweled skip trowel and simple orange peel can all be matched with the right tools and a test patch first, before we commit to the full ceiling.
Do you find the cause of a ceiling stain before repairing it?
Always. Closing a ceiling back up over an active leak or unresolved plumbing issue only hides the problem for a season. We confirm the source is fixed and the cavity has dried before any new drywall goes up.
What homeowners say
Pulled straight from our Google Business Profile, and updated as new reviews come in.
Drywall Installation and Repair near you
Pick your town for local detail: what the housing stock is made of, which office issues the permit, and what we run into most often there.
All service areasOther work we take on
Most projects touch more than one trade. Keeping them under one crew is what keeps the schedule honest.
Bathroom Remodeling
Walk-in showers, custom tile, vanities and full layout changes, waterproofed to last decades.
ExploreKitchen Remodeling
Cabinetry, stone countertops, backsplash and lighting designed around how you actually cook.
ExploreTile Installation
Porcelain, marble, mosaic and large format. Dead-level substrates and razor-straight grout lines.
ExploreFlooring Installation
LVP, engineered hardwood, laminate and tile, over subfloors flattened so seams disappear underfoot.
ExploreInterior and Exterior Painting
Real prep work, premium coatings, crisp cut lines. Walls, trim, cabinets and full exteriors.
ExploreDoor and Window Installation
Entry doors, sliders, interior doors and replacement windows. Square, sealed and energy tight.
ExploreReady to fix your drywall?
Free estimates, honest pricing, and a crew that shows up when it says it will.